The Perfect Macaron: What I've Learned
The one mistake I kept making? Rushing the macaronage.
I remember the first batch of macarons I ever made. They were supposed to be pistachio. They came out of the oven looking like tiny green pancakes, cracked across the top, completely hollow inside. I stood in the kitchen staring at the tray, genuinely confused about how something with three ingredients could go so spectacularly wrong.
That was about thirty batches ago. I would not say I have macarons completely figured out (does anyone?), but I have learned enough to get consistent results, proper feet, smooth shells, and a filling that does not squeeze out the sides when you bite down. This is everything I know.
It starts with the meringue
There are two schools: French meringue and Italian meringue. French is simpler. You whip egg whites with caster sugar until stiff peaks form. Italian involves pouring a hot sugar syrup into the whites while whipping. Italian gives you a more stable, shinier meringue with a smoother shell, but it is fussier and you need a sugar thermometer.
I started with French because it felt less intimidating. Then I switched to Italian after about ten batches, and the difference was immediate. My shells were smoother, more consistent, and the batter was easier to work with. If you are just starting out, there is nothing wrong with French meringue, but if you are frustrated with inconsistency, try Italian. It is worth the extra step.
Either way, the number one rule is the same: your bowl and whisk must be completely clean and free of any grease. Even a tiny trace of fat will stop the whites from whipping properly. I wipe my bowl with a bit of lemon juice on kitchen paper before I start. It takes five seconds and it saves heartbreak.
Almond flour matters more than you think
The quality and grind of your almond flour makes a huge difference. You want it as fine as possible. I blitz mine in a food processor with the icing sugar for about 30 seconds, then sift it twice. Yes, twice. The first sift catches the bigger pieces. The second sift catches what you missed. Whatever does not go through the sieve gets discarded or saved for something else.
Some people say you can just buy "extra fine" almond flour and skip the sifting. You cannot. Even the finest commercial almond flour has pieces that are too big for a smooth macaron shell. Sift it. Your future self will thank you.
The macaronage: where most people go wrong
Macaronage is the folding stage, where you combine the dry ingredients with the meringue. This is where I went wrong for the longest time, and it is where most people go wrong.
The mistake is being too gentle. You have spent all this time building up your meringue, so it feels completely counterintuitive to then deflate it. But that is exactly what you need to do. You are pressing the batter against the side of the bowl, folding it over, pressing again. You are deliberately knocking air out of it.
The test everyone talks about is the "figure of eight" test: lift your spatula and let the batter fall. If you can draw a figure of eight without the ribbon breaking, you are close. The batter should flow like thick lava. It should settle back into itself within about ten seconds. If it sits in a peak, you have not folded enough. If it is completely flat and runny, you have gone too far.
The thing nobody tells you is that you are usually only two or three folds away from "not enough" to "too much". It happens fast. Count your folds. I typically do between 45 and 55 folds from the moment I add the dry ingredients. That gives me a reference point. If my macarons come out wrong, I can adjust the count next time.
Piping and resting
Pipe onto silicone mats, not parchment paper. Mats give more even heat distribution and the macarons release more cleanly. Pipe straight down from about 1cm above the mat, holding the bag vertical. Give the tray a good bang on the counter afterwards, two or three sharp taps. This pops any large air bubbles that would crack during baking.
Then let them rest. This is the bit that requires patience. You need to leave the piped shells out at room temperature until they form a dry skin on top. Touch one gently with your fingertip. If it is tacky, it is not ready. If it feels dry and does not stick, you are good to go. This usually takes 30 to 60 minutes depending on humidity. On a damp day it can take longer.
The skin is what creates the feet. When the macaron goes into the oven, the air inside expands. If the top is sealed, the air pushes out from the bottom, creating that ruffled foot. No skin, no feet.
Baking
Every oven is different, and this is where you just have to learn yours. I bake at 150C fan for 14 minutes. Some people go hotter for less time. Some people open the oven door halfway through to release steam. I have tried both and found that a steady, lower temperature with no door opening gives me the most consistent results.
The macarons are done when you can gently wiggle the top of a shell and it does not slide around on its base. If the top moves independently from the bottom, give them another minute or two.
Let them cool completely on the tray before trying to remove them. If they stick, they are probably underbaked. Next time, add a minute.
Filling and maturing
This is the secret that changed everything for me: macarons are better the next day. Pipe your filling, sandwich them, then put them in an airtight container in the fridge overnight. The moisture from the filling softens the shell slightly, giving you that perfect texture where the outside has a thin crunch and the inside is soft and chewy.
Fresh from the oven, a macaron is just a meringue biscuit. After a night in the fridge, it is a macaron. The difference is enormous.
What I have learned the hard way
- Humidity is your enemy. On rainy days, everything takes longer to dry. Plan accordingly.
- Age your egg whites. Separate them and leave them in the fridge, covered, for 24 to 48 hours. Aged whites whip better.
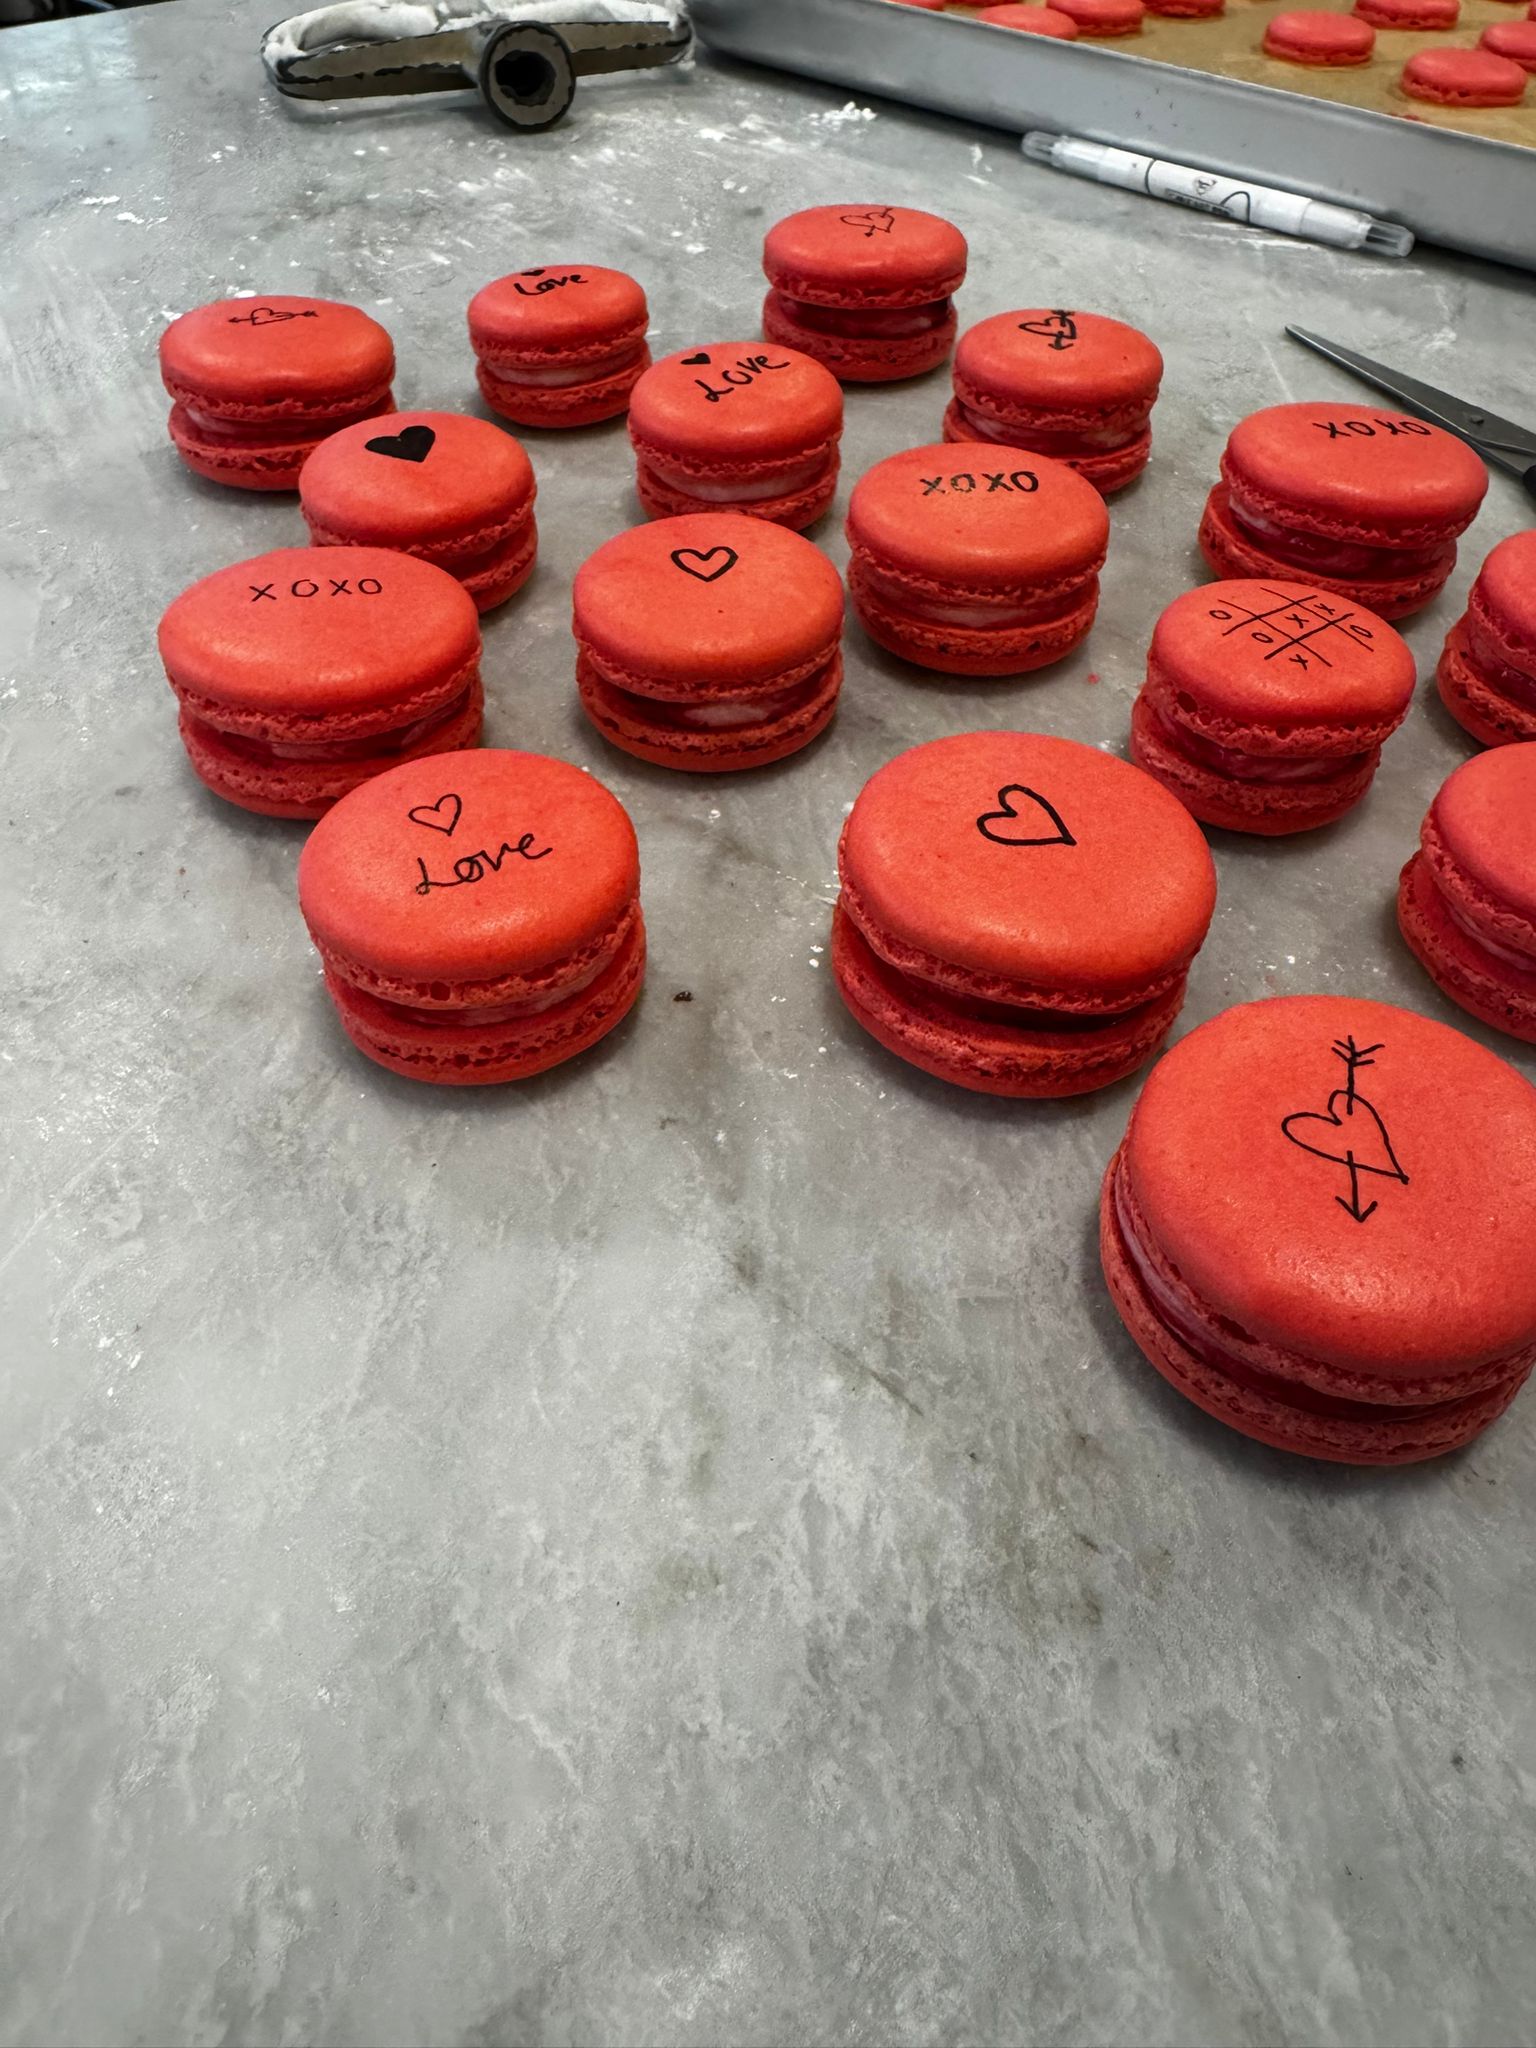
- Gel food colouring only. Liquid colouring adds moisture and throws off the consistency. Gel or powder, never liquid.
- Write everything down. How many folds, oven temperature, resting time, what worked, what did not. Macarons reward consistency, and you cannot be consistent if you cannot remember what you did last time.
- A failed batch is not wasted. Crumble them over ice cream. Nobody will complain.
Vanilla Bean Macarons
Shells
- 150g ground almonds
- 150g icing sugar
- 110g egg whites (aged 24-48 hours, at room temperature)
- 150g caster sugar
- 37ml water
- Seeds from 1 vanilla pod
- Gel food colouring (optional)
Vanilla buttercream filling
- 100g unsalted butter, softened
- 200g icing sugar, sifted
- 1 tbsp whole milk
- Seeds from 1 vanilla pod
- Pinch of salt
Method: shells
- Blitz the ground almonds and icing sugar in a food processor for 30 seconds. Sift twice into a large bowl, discarding any large pieces.
- Place half the egg whites (55g) into the almond mixture. Add the vanilla seeds. Do not stir yet.
- Put the caster sugar and water in a small saucepan. Heat over medium until it reaches 118C on a sugar thermometer.
- While the syrup heats, whisk the remaining egg whites (55g) in a stand mixer on medium speed until foamy and just holding soft peaks.
- When the syrup reaches 118C, slowly pour it in a thin stream down the side of the bowl while whisking on medium-high. Continue whisking until the meringue is thick, glossy, and cooled to about 50C (the bowl should feel warm, not hot). Add gel colouring now if using.
- Fold a third of the meringue into the almond mixture to loosen it. Then fold in the remaining meringue using the macaronage technique: press the batter against the bowl, fold over, rotate, repeat. Count your folds. Stop when the batter flows like lava and a figure of eight holds for about 10 seconds.
- Transfer to a piping bag fitted with a 1cm round nozzle. Pipe 3-4cm rounds onto silicone-mat-lined trays, leaving 2cm between each.
- Bang the trays sharply on the counter 2-3 times. Pop any visible air bubbles with a toothpick.
- Leave at room temperature for 30-60 minutes until a dry skin forms. The shells should not feel tacky when lightly touched.
- Bake at 150C fan for 14 minutes. The shells should have feet and not wobble when gently nudged. Cool completely on the tray.
Method: filling
- Beat the butter until pale and fluffy, about 3 minutes on medium-high.
- Add the icing sugar in two batches, mixing on low after each addition. Add the milk, vanilla seeds, and salt. Beat on medium-high for 2 minutes until smooth and light.
- Pipe a generous amount onto the flat side of one shell. Sandwich with a matching shell, pressing gently until the filling just reaches the edges.
To finish
Place the filled macarons in an airtight container and refrigerate overnight. Remove from the fridge 20 minutes before serving. They keep for up to 5 days in the fridge or 3 months in the freezer.
Thirty batches to get here. Every single one taught me something.
Enjoyed this? There's more where that came from.
More kitchen notes